How To Setup Solar Kits And Solar Racking
This article will emphasize a few points you need to consider when establishing up solar panels.
1. Take Authorization from the Regional Area Authorities
Prior to fitting solar panels, create sure you have permission from the local authorities, as these are prohibited for domestic use in many places due to visual reasons. Contact the local zone authorities in your area to own a certificate before to uncomplicated.
2. Decide the Right Place
They are usually installed on roofs in order to receive the direct and maximum amount of sunlight. It is vital to install DIY Home Solar Kits at a place where it is straight exposed to the sun to be able to perform at the best possible capacity. The position angles can easily be measured depending upon the permission on which they are being installed. Ensure that the structural integrity of the roof can support the hefty panels for your home.
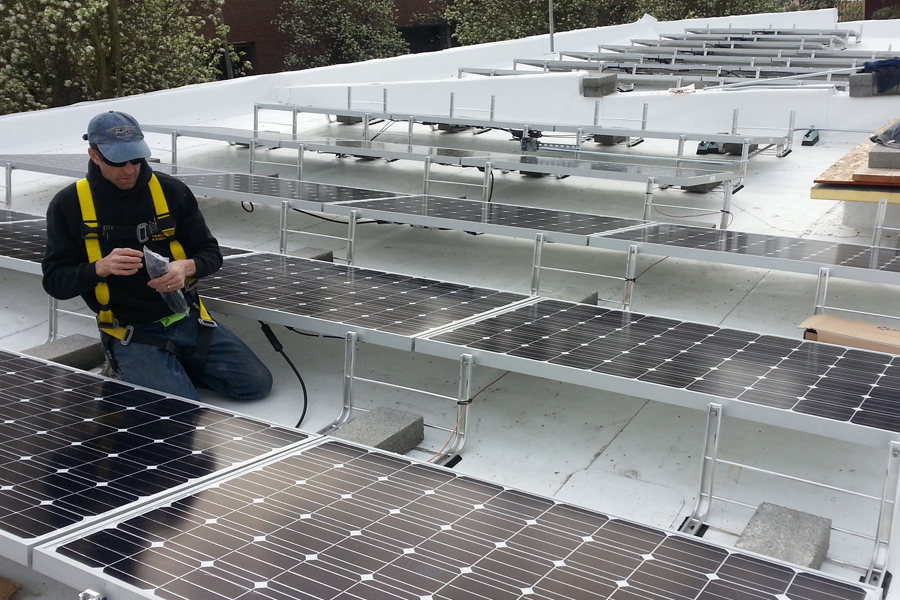
3. Increasing of the Solar Panels on the Roof Beam
The next step to installing the solar photovoltaic panels is mounting. Three main different types of solar panel mounts available are pole mounts, flush mounts and roof-ground mount system. Using these mounts you can either install these on the roof or attach them as a free-standing unit. Generally, roof-ground mount system is used to connect the panel to the roof and also provide assistance to the panel from the bottom. The roof-ground mount also permits to adjust the system to produce the required energy. Ensure that mounting is placed at a distance of about 48 inches wide and located straight on top of the roof beam. Each must be installed in the solar alignment and interrelated properly. Each mounted part must check carefully to make sure that they are secure and safe and leak-proof.
4. Anchor the Solar Panels to the Loading System
With the help of a pilot bit, drill a hole in the mounts to keep the rafters together and for avoiding breaking. Tie up the base of the mount by using stainless-steel lag bolts. The post of the mount should be fixed into the base. Keep in mind to prevent the roof from leaking, over each of the mounts place the roof metal flashing. Connect the Ground Mounted Solar Racking System made up of aluminium to the metal rails to complete the racking system. Now connect the panels to the racking system with the help of an adequate hardware. Be sure that both the panels and the racking system are properly beached according to the local electrical codes.
5. Setting Up of the Junctions in the Power Circuit
Finally, interconnect the sections by setting up all the junctions present on the back of each panel and fix the electrical cables into their appropriate terminals. After interconnecting the electric wires, close all junction boxes.
Your Ground Mount Solar Racking is installed now and ready for use. You can now switch on the lights and use your own source of energy. Indeed, the solar technology will offer you several years of satisfactory and competent service.


Comments
Post a Comment